Ensure you have a seamless image of the desired texture saved on your device. Crop out any unwanted borders so only the texture itself is visible in the image file.

- To access the Admin section Click on your initials on the top right corner of the screen.
- Select Admin from the dropdown menu.

- Select Texture Catalogue.
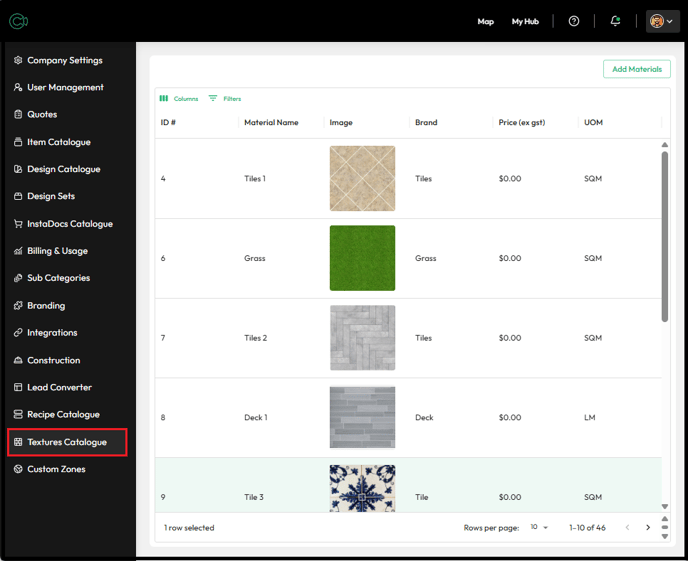
- Click Add Materials.

- Click the Pencil icon to add an image.
- Enter information in the text fields:
- Name.
- Brand.
- Texture Set.
- Price.
- UOM.
A helpful naming convention is to name each texture after the material and number it for tracking purposes. You may use “NA” for Brand and enter 0 for Price if the texture has no associated cost.
Do not enter a dollar sign in the Price field. Enter only the number. The system will automatically apply the "$" symbol.
- Click on the Groupings Tab to the left of the editing panel.
- Enter a label for Texture Group & Texture Sub Group.
- Click Save.

The Texture Set (under the Vital Info tab) must exactly match the label entered in the Texture Group field (under the Groupings tab). A mismatch between these fields will result in an error and prevent saving