There are various display settings on the Site Plan & Flyer. By properly adjusting these setting you can speed up the time it takes to generate professional documents for your clients.
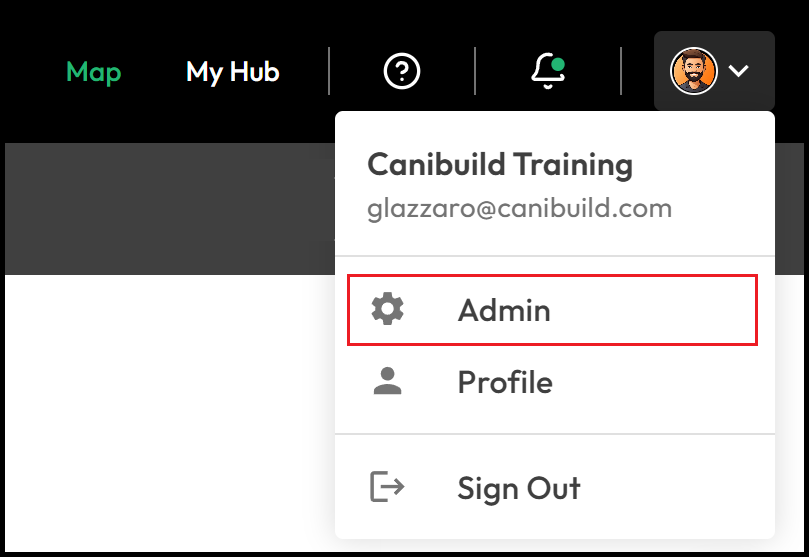
- To access the Admin section Click on your initials on the top right corner of the screen.
- Select Admin from the dropdown menu.
-
Click Branding.
-
Choose between Flyer, Site Plan, or Proposal to customise.

Flyer
There are several components of the flyer that can be customised. These can be adjusted in either the Design Catalogue or within the Branding section.

- Click the pencil icon to open your file manager and upload your Logo or Promo Stickers.
- Drag the Zoom slider to adjust logo size.

- Click the colour square for Logo Backing or Detail Strip.
-
Move the slider to choose a main colour.
-
Click inside the colour square to fine-tune the shade.
-
Enter a hexadecimal code to match exact company colours.
-
Click the checked circle for a transparent background.
-

Hexadecimal code for Black "000000" & White "FFFFFF"
- Click the green circles under Display Options to turn specific elements on or off.

Site Plan
Customize the Title Block on the site plan, add a disclaimer & manage how annotations are displayed.
-
Select Site Plan from the Branding options.
-
Click the green circles under Display Options to enable/disable items.
-
Toggle the Title Block switch to hide client details.
-
Toggle the Annotations switch to move notes to the first or last page.
-
Edit the disclaimer text as needed.
-
Click Reset to Default to revert changes.
-
Click Save to apply changes or Cancel to exit without saving.
