3D provides a clear visual of how a design sits on the site, making it easier to communicate outcomes to the client. It also assists with determining the best location to build & the most cost-effective option for levelling the block using elevation & site calculations.
 |
View in 3D - Activates the 3D feature. |
 |
View in 2D - Click to exit 3D mode. |
 |
Cut / Fill Mode - Hides the design & shows cut, fill, drop edge & retained areas. |
 |
Toggle Floor plan - Turns the floor plan overlay on & off. |
 |
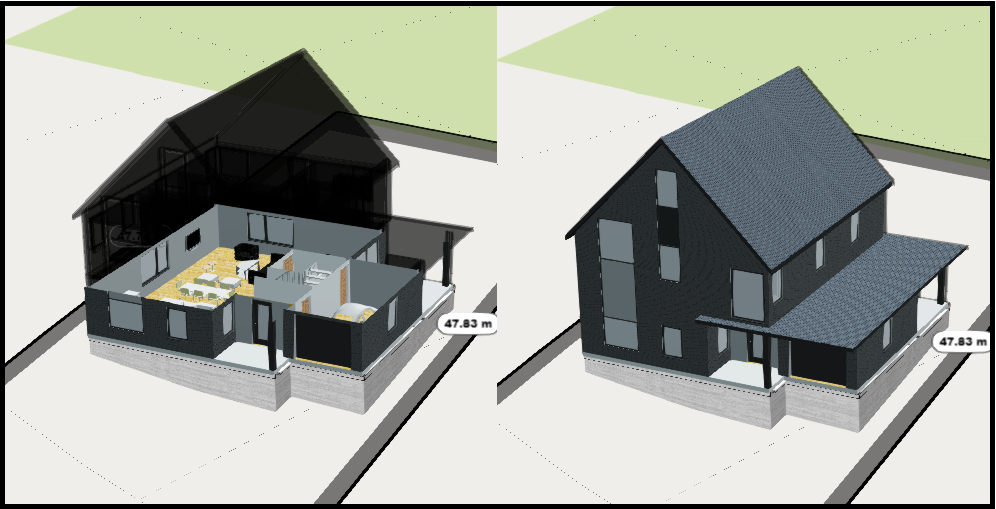
View Floors - Switch between ground & first floor by removing the roof. |
 |
Show model - Displays the 3D model if a .glb file is uploaded to the design. |
 |
Toggle Shadows - Activate Shadowing & sun position using time & date controls. |
 |
Toggle Contours - Displays site contour lines in 3D view. |
 |
Additional Info - Toggle surrounding buildings & structures. |
- Click the 3D icon to access site calculations & shadowing.

Design Elevation & Site Calculations
All House, Granny Flat / ADU, & Shed designs will render automatically in 3D with grey walls & a yellow roof. Designs breaching a setback will display in red.
- Left click the design to activate the Elevations.
- Click & Hold the Arrows to raise, lower or rotate the design.
Use 2D mode to place & rotate the design accurately, then switch to 3D mode to adjust height, calculate cut/fill & visualise shadow impact.

As you adjust the elevation, the platform automatically recalculates:
-
Raising the design expands the drop edge area.
-
Lowering the design creates retained or battered areas.
These calculations are directly linked to pricing, based on the Recipe Catalogue. You must enter a dollar value for:
-
Cut
-
Fill
-
Drop Edge Area
to ensure accurate pricing results in the 3D Site Costs.

Adjusting the Render & Using 3D Models
- Right click the design to open the menu.
- Slide the Scroll Bar to adjust the Render.


A 3D model is not required to use the 3D tool or generate site costs. However, uploading a render model significantly enhances the client presentation.
- 3D models must be drawn in Revit & exported as a .glb file for upload to Canibuild.
Selecting Site Imagery
Choose from different backgrounds for visualising your site:
-
Photorealistic – Automatically displays buildings & trees on nearby lots.
-
Street – Displays a street-level rendered view.
-
Satellite – Displays overhead aerial view.

Photorealistic imagery is a newer feature & may not yet be available in all areas.

Shadowing Tool
Use the Toggle Shadows feature to understand how the sun affects your design placement throughout the year.
-
Click Toggle Shadows.
-
Select a Season (Summer, Autumn, Winter, Spring).
-
Click the arrows to change Month.
-
Select a Date.
-
Click & drag the Time Dial to simulate sunlight throughout the day.

This tool is particularly useful for orientation analysis, assessing overshadowing on neighbouring properties, & marketing renders for solar impact & energy efficiency.
