This article will show you how to set up the very basics of your account by populating your company information & setting up users.
- To access the Admin section Click on your initials on the top right corner of the screen.
- Select Admin from the dropdown menu.

Company Settings
- Click Company Settings.
Company details listed in this section will appear on Site Plans, Flyers & Quotes.
- Click Company Settings.

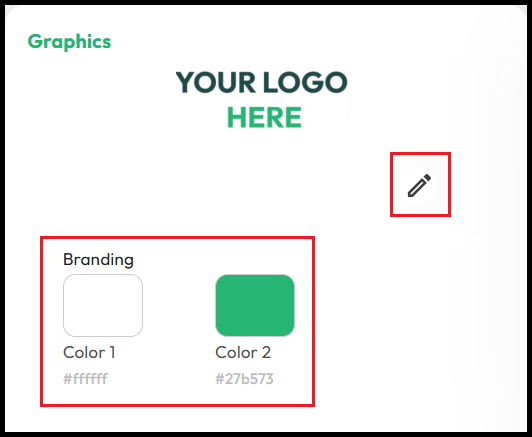
- Click on the Pencil icon in the Graphics panel to add a logo.
Ideal Logo File Requirements:
- Max file size 10000Kb or 10Mb.
- Minimum resolution 250 x 150 pixels
- Minimum resolution 150 x 150 pixels
- Maximum resolution 1000 x 1000 pixels

The logo is visible on Site Plans, Flyers & Quotes.
- Click on the box above Color 1 or Color 2 to customise your branding colours.

You can enter specific HEX codes in the Branding section for precise colour control.
- Click inside any text box to update your company name, business number, license number, or contact details.
- Click the Green Save button at the top right to save your changes.

User Management
There is no limit on the number of users that can be added. Alternatively, multiple users can share the same login if necessary.
-
- Select User Management.

The default view will only show active users.
- Click Add User on the top right of the screen.

- Enter the user’s Name & Email.
- Select the user’s Role (User or Manager).
- Click Add to complete.

The User role does not have access to the Admin section. Roles do not need to reflect your internal company hierarchy.
- To deactivate a user, click the green toggle under Status.
- Click Edit to access a users profile.

- Click the pencil icon to upload a profile image.
- Click the green toggle to deactivate the account.
- Edit the user’s name or change their Role.
- Click Reset Password to email the user a password reset link.
- Click Save to apply any changes.

